
Deploy your backend on AWS EC2
Published:

This Friday, I wanted to deploy my backend using Django on the AWS EC2 server. Normally, it often took me 2 hours to complete all the processes, but this time is much longer since I forgot some very small configuration steps on my EC2 instance.
EC2 Instance Configuration
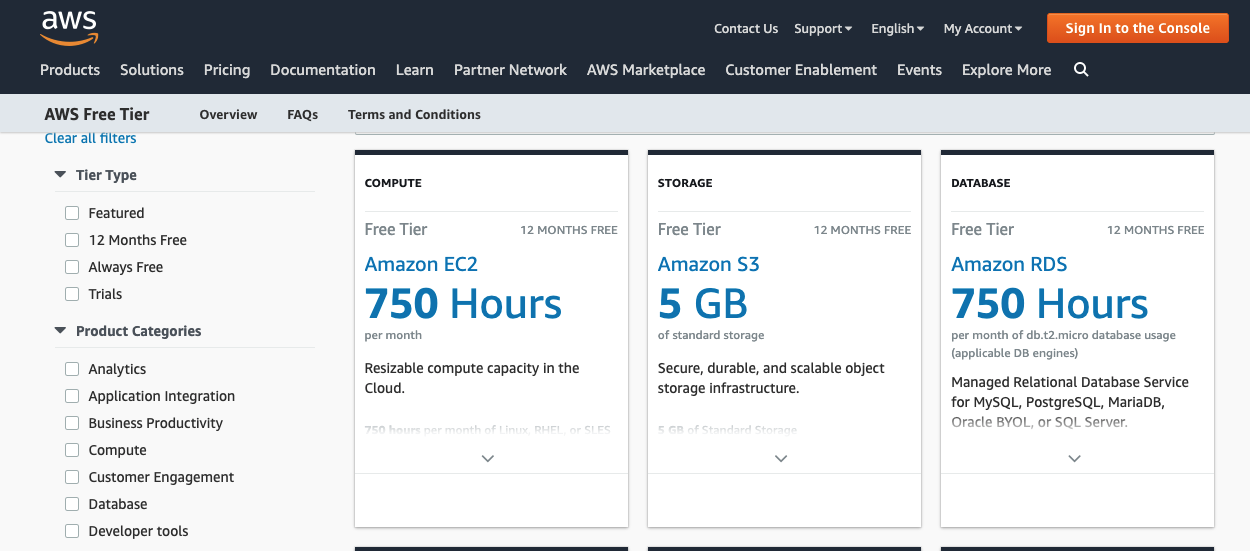
So let’s start with create an EC2 instance on AWS. For people who looking for a server to deploy their toy project like me, AWS provides us a free-tier Amazon EC2 instance for 12 months. Note that you can create multiple instances whose total time could not be over 750 hours per month.
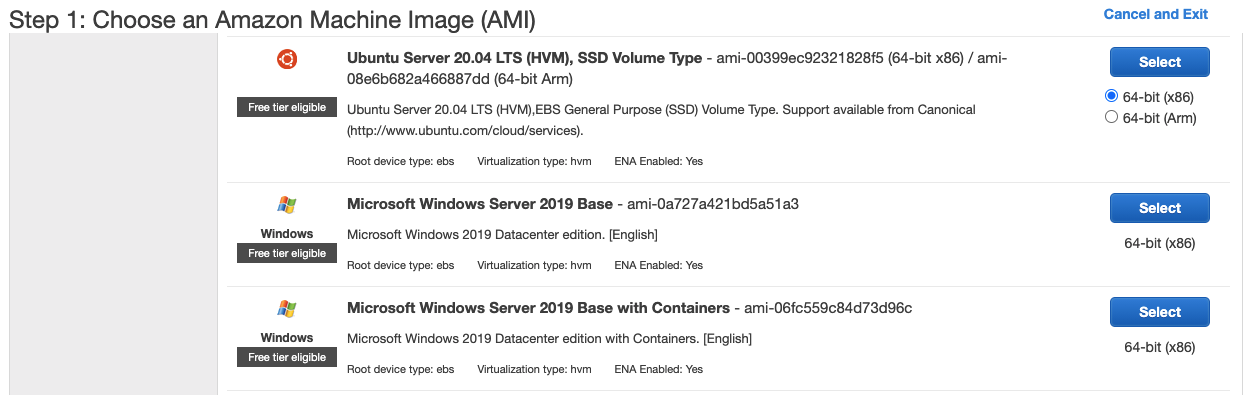
There are a bunch of Amazon Image Machine (AIM) options for us, I chose the Ubuntu ones with the configuration as below (If this is the first time you use AWS, you will be asked to create a new key for your connections to AIM).

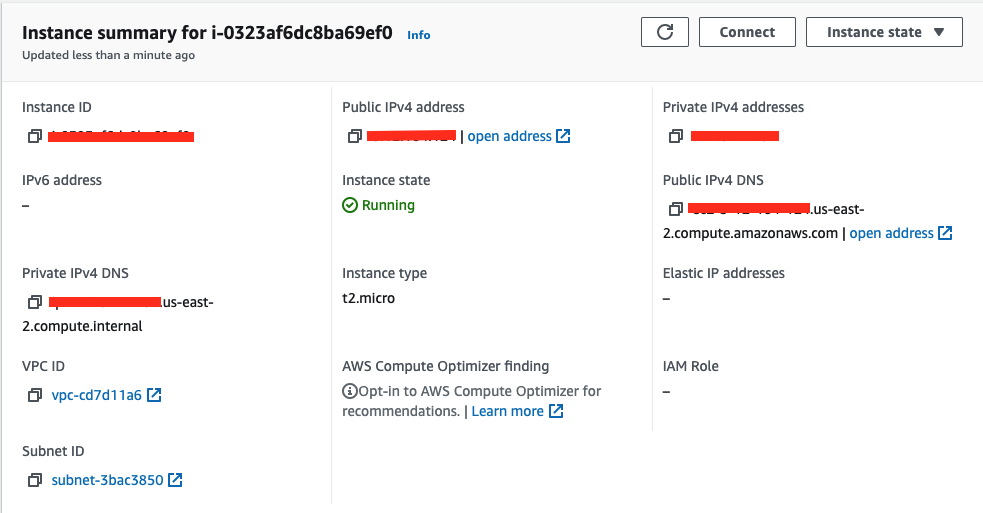
After that, we have our created instance
So now we have to config our sercurity groups for our instance which is an important step (which I forgot and had to pay many hours for debugging my server and my code as well). Mine configure below uses for a django API backend server
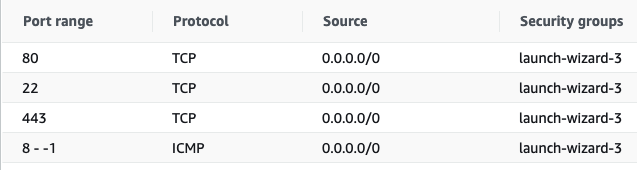
Without this step, you can not ssh [22] or send any requests to the server (both unsecured [80] and secured requests [443]). Until now, you are able to ssh into the server and deploy your code.
DNS configuration
Since amazonaws.com to be on the blacklist Let’s Encrypt uses for high-risk domain names, if we want to add SSL/TLS to our server (which I will cover in the later section), we have to map the server to our own domain. I use Cloudflare to add an A record that map my subdomain to my server IP

Nginx Configuration
To be able for your deployed backend to receive the request from clients, I use Nginx as the proxy forwarder. First, I create the nginx configuration file as below at /etc/nginx/sites-available/your_config.cfg
    server {
        listen 80;
        server_name yourdomain.com;
        location / {
            proxy_set_header Host $http_host;
            proxy_redirect off;
            proxy_set_header X-Forwarded-For $proxy_add_x_forwarded_for;
            proxy_set_header X-Real-IP $remote_addr;
            proxy_set_header X-Scheme $scheme;
            proxy_pass http://localhost:8001/;
    }
Here, my backend server is listening at localhost:8001, so I will forward all the incoming requests to that address. After that, run the commands below to apply your proxy forwarder.
  $ cd /etc/nginx/sites-enabled/

  $ sudo ln -s ../sites-available/your_config.conf your_config.conf

  $ sudo service nginx restart
Until now, you are able to receive insecure requests from your clients.
SSL/TLS Configuration for your Server
Now we want to make the connection between our server and our client be encrypted to protect the transition data. We will add support for SSL/TLS on our EC2 instance. I choose certbot in all of my projects since it is very easy to use. All you have to do is these commands below
  $ sudo apt install python3-certbot-nginx

  $ sudo certbot --nginx -d yourdomain.com
Certbot will modify the configuration of Nginx. After that, restart your Nginx and your running backend server, all of our requests are now redirected to a secured channel!
Yayy! Our server is now all set up!